Showing posts with label Baking Dies. Show all posts

Monday, December 20, 2021

Baking Treat Boxes

 Happy Monday my crafty friends!!

Nicole here today on the JB blog.

I cannot believe it is the Monday before Christmas!!

I am still finishing up a few holiday crafts and have a set of treat boxes to share with you today -
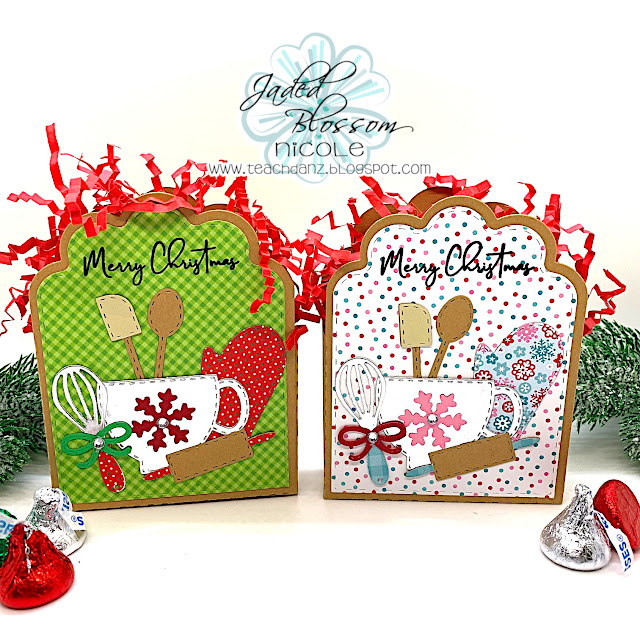


Here are some closeups -
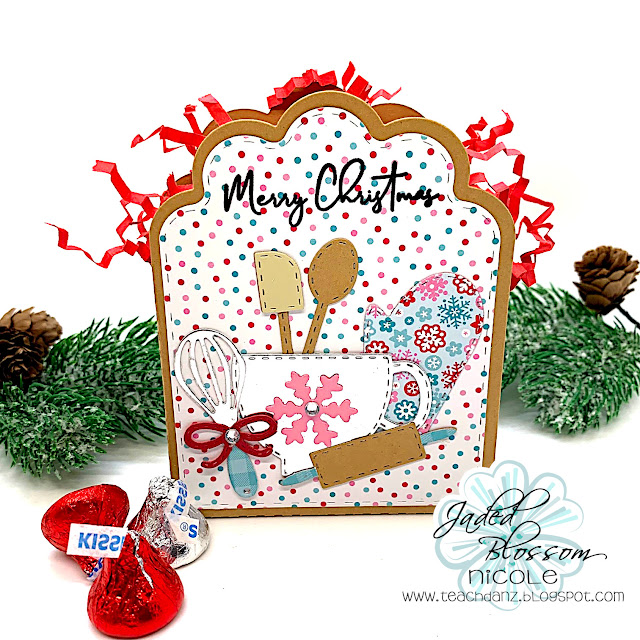


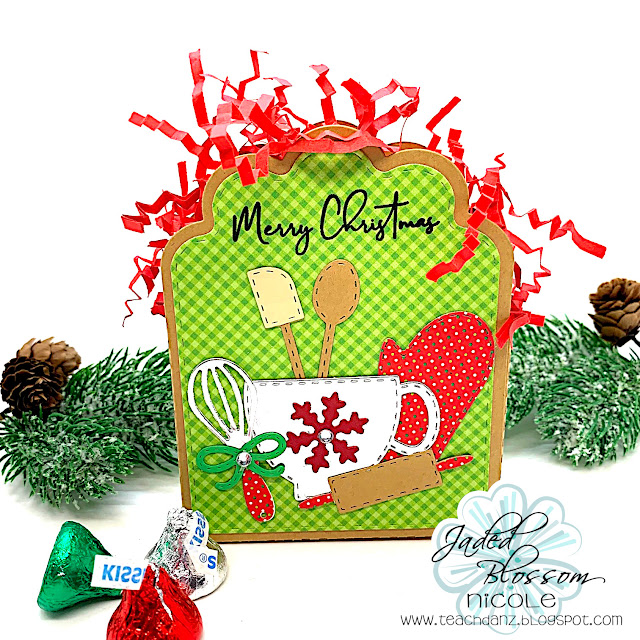
I thought it would be fun to do 2 different colored schemes.


Here is the list of Jaded Blossom products I used on these -


Thanks so much for stopping by the blog today!!
Have a great day!!


Wednesday, May 20, 2020

Graduation Gift Card Holder

Hi Crafty Friends,

It's Larelyn from Handmade From My Heart. 

The hubby and I are honoring the graduations of the son and daughters of some close friends.
It's been fun using Jaded Blossom products to make them each a special card in their own school colors. 

Today I'm sharing the 3rd graduation card/gift card holder that I made. 
The other two can be found in the Jaded Blossom Garden of Creativity on Facebook.


I used these Jaded Blossom products:
Candy Bar Slider Die
School Dies
Baking Dies  (tag)
Mini Tag Dies 3
Alphabet Dies
Alphabet Dies 2
Hard Work stamp set

Thanks for stopping in today.


Thursday, March 28, 2019

Ice Cream Sundae Treat Bag

Hi everyone! This is GiGi from The Cricut Bug and I am sharing this treat holder I made using my Jaded Blossom supplies.


I started this project with the Ric Rac Topper Die and added it to a 3 X 4 Inch Clear Bag that I filled with candy.
I created the ice cream sundae using several die sets.
The wrapper is from the Coffee Dies and the ice cream layers and cherry are from the Birthday Dies.
I gave it a chocolate topping cut with the Halloween Dies and added the spoon cut from the Baking Dies.
To finish, I added some twine and stamped the sentiment from the Sweet Treats stamp set.

I hope you all liked my project for today and thanks for visiting!

Wednesday, July 25, 2018

Life is how you bake it...

Hey everyone!  It's Candace from Candi O. Designs and it's my day over at Jaded Blossom.  I bought these pot handle holders and made treat toppers for them before giving to friends.  Love how Jaded Blossom has the perfect dies and sentiments to go with about any treat you want to give away!!  I color coordinated the topper with the color of holder.


Products Used:
Jaded Blossom:  Baked With LoveBaking DiesMini Tag Dies 3
Paper: MFT ~ Tiny Check and Bo Bunny ~ Family Recipes
Enamel Dots

I hope you all liked my project for today and thanks for visiting! 
Have a Great Day!!

Friday, October 27, 2017

Lovin' From The Oven!!! :)


Hi My Friendly Bloggers!
 This is Cindy from Cindy's Scraptastic Designs,  It's my day to post over
at Jaded Blossom. I made a Shaker card for today using so fun Christmas goodies!!! :)
I used Jaded Blossom the Gingerbread Wishes for the Gingerbreads and sentiment, theBaking Dies for the oven mitts and baking utensils, the Christmas Banner Dies for the small Gingerbreads and the holly's, the Stitched Square Dies for the fames,
the Mini Tag Dies for the tag and the Milk & Cookies 6x6 Paper Stack for the paper inside my card. I also used Jillibean Soup - shakers
Hope you like my card for today!!! :)


 Supplies I Used for my Shaker Card:
Jillibean Soup - shaker jar
 
 Thanks for stopping by and have an AWESOME Weekend!!! :)


Monday, January 30, 2017

Fishing You!

Hello my crafty friends!  Sarah here with you all today taking over the blog!  I have these two fun cards to share with you today and I hope you love them as much as I do!  I am not really all that into Valentine's Day BUT I loved these dies-- so I put on my thinking cap and have these two cuties to share with you all today!


The Details: 
Baking Dies----Kind of in love with that as a tag! Fun!

Tuesday, July 26, 2016

Birthday Greetings from Under the Sea!!


Hi everyone...Lee-Ann here and it's my day to take over the Jaded Blossom blog. Check out my blog HERE!! I have a Mermaid set that I made using the super sweet Jaded Blossom set-Mermaid kisses. I actually COLOURED-GASP!! The background was made using distress inks over a stencil with Clarity Stencil brushes...these are seriously awesome for ink blending!! LOVE! Thanks for stopping by...Lee-Ann :)
**Pan down to check out all the products that I used


Recipe:

  1. Jaded Blossom-Stitched Rectangle dies, Mermaid Kisses, Goody bag dies, Baking Dies, Tropical dies, Mini tags 2
  2. Distress inks-tumbled glass, broken china, salty ocean, mermaid lagoon, peacock feathers
  3. Strathmore water colour card stock
  4. Clarity stencil brushes
  5. Simon Says waves stencil
  6. PTI kraft card stock
  7. Neenah solar white card stock
  8. Simon Says Intense black ink
  9. Spectrum Noir markers-clear sparkle, EB3, EB4, EB6, FS1, FS9, FS6, GT1, GT2, GT3, TN6, CR1, IG4
  10. Glossy Accents
  11. Sakura white gel pen
  12. Cartwright's Moonshine sequins
  13. SU pearl
  14. Versamark
  15. Stampendous detail white embossing powder
  16. Tulle-white-Celebrations

Monday, July 20, 2015

A Berrylicious tutorial!

Happy Monday!! It's Barb with BugBites here to start your week with a simple little treat holder made with the the Lollipop die
In this project, the treat becomes part of the card itself. All you need is some neutral colored paper and the bright colors of the packets do the rest. Of course, a couple fruity embellishments are a must!

Let me show you how I made them.

First, cut out the base shape using the lollipop dieYou can see in the photo, your paper doesn't need to be as long as the die for this project.

Now we will need to cut a second time with the die in order to add the scallop edge on the bottom edge as well.

You will need to flip over your existing die cut so when you cut the second time the faux stitching will be on the right side when folded. 


Place the die cut on the die where you want to cut it. It is important to line up the faux stitches on the die cut with the metal die. This helps secure the paper in the die a bit. 

When you put it through your die cutting machine to cut this second time, you only need to push it through far enough to cut the scallop edge.

You now have the modified shorter lollipop die cut with a scallop edge on both ends.

I folded the bottom flap up at the first score line from the bottom for the drink packet to fit perfectly.

I used glue dots and bakers twine to hold the flap in place. i finished each card with some fun fruity die cuts and sentiments. 

Here is the rest of the cool stuff I used to put this treat together...


Have a crafty day!!

Thursday, April 30, 2015

Calling all BBQ Kings!

Hello! Mel here with a fun gift card box idea for you.  I just added the "King of the BBQ" stamp set to my collection. This stamp set is on sale for the month of April. Today is the last day for the sale! Inspired by my new stamps, I made a BBQ gift card holder.  The base of the BBQ could be filled with candy or a small gift too.


Here is a close up of the tag from mini tag dies 2 on the BBQ.  The hot dog and hamburger are from Doodlebug Designs, Picnic Ants.  These are so cute! (the kinda cute that makes you NOT want to use them.. ha ha)


The spatula and oven mitt are Jaded Blossom Dies, Baking Dies. I stamped "Kiss the Cook" on the oven mitt.


The gift card was adhered with double sided tape inside the lid.


Jaded Blossom
sentiments - King of the BBQ
oven mitt, spatula - Baking Dies
square die cut - Card Mat Dies
hot dog, hamburger - Doodlebug Designs, Picnic Ants Sprinkle Shapes

extras
Grill Gift Card Holder, Meghan Hardy, Silhouette Design Store
steaks on the grill, Lisa Norris, Silhouette Design Store
Pattern paper, Doodlebug Designs, Patriotic Picnic

Thanks for checking out my project today.
Have a wonderful day!


Wednesday, April 29, 2015

BBQ

Hi everyone! It's Candace from Candi O. Designs and it's my day over at Jaded Blossom and I am sharing a project I made using the Monthly Spotlight stamp set, King of the BBQ.

This is such a fun stamp set! There are so many possibilities with it and with the BBQ season getting in full swing, what better set to have!!!
  

I used the Angle Treat Box for the base from SVG Cutting Files, scaling it to fit these seasoning mixes I bought. I added a "handle" to the back of the box with the oval die cut from Mini Tag Dies 2 and then tied a tag with a sentiment from this stamp set.  I stamped the BBQ Bear on the SVG Outline that matches this set, colored him with copics, then cut out the original flipper in his hand and added the die cut one from Baking Dies.  I also used the cookie sheet and oven mitt from the Baking Dies to add another sentiment from this set.  The Picnic Sprinkles from Doodlebug where the perfect touch ~ love the burger!!
 Perfect little gift for that BBQ'er in your life! 

I hope you all liked my project for today and don't forget to get your own King of the BBQ stamp set at a great price this month!